We Are Not the Net Trap You Are Used To
✅ Unboxing & System Overview
✅ Trap post placement
✅ Install Anchors
✅ Install Straps
✅ Trap Mode & Cap Setup
✅Training mode setup
P.I.G. Hog Trap Setup & Deployment Guide
Portable Interception Gear (P.I.G.) – Step-by-Step Field Instructions
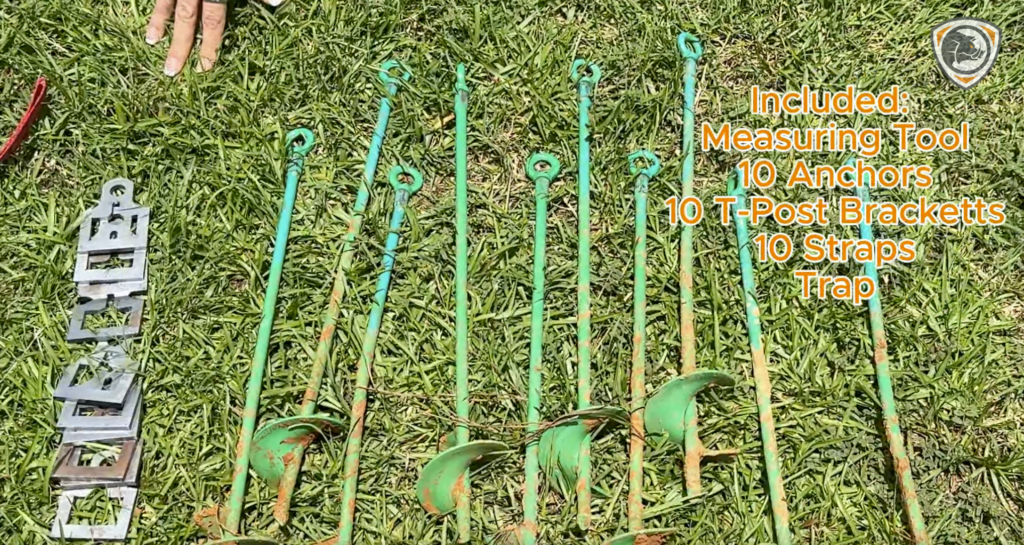
Step 1 – Inventory Your Kit
- Layout tool (rope system)
- Trap net with integrated rings & cap
- 10 ground anchors
- 10 T-post brackets
- 10 cinch straps
✔ Step 2 – Gather Required Tools
- 10 T-posts
- Post driver
- Hammer
- Screwdriver
- Impact driver (recommended)
✔ Step 3 – Select & Prepare Your Site
- Choose a flat, active hog area
- Clear brush and obstacles
- Mark the center point of your trap
Pro Tip: Walk the full circle before installing posts to ensure a clean layout.
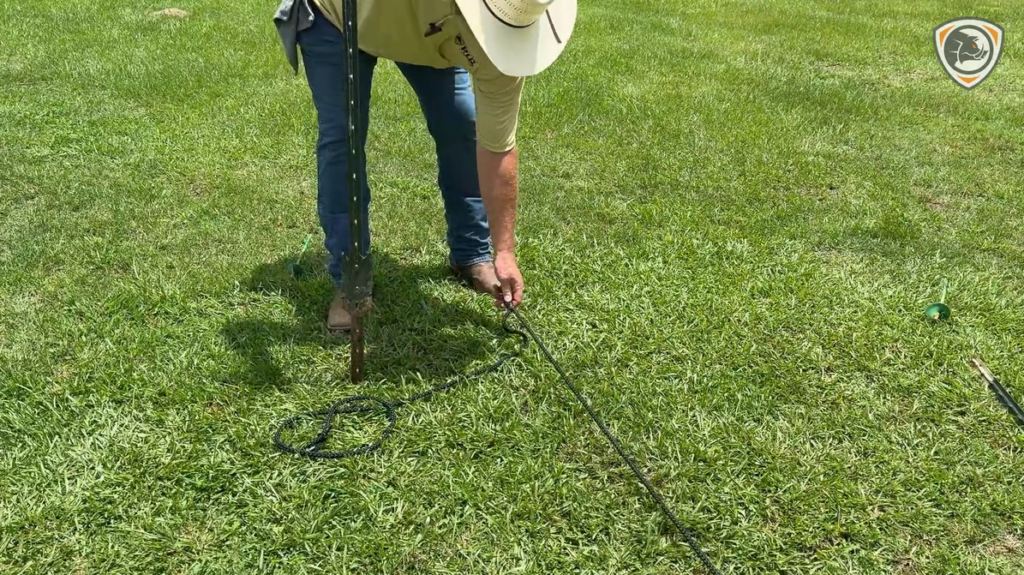
✔ Step 4 – Lay Out the Trap Circle
- Place the center of the layout rope at your selected center point
- Insert screwdriver to hold position
- Stretch rope to define the radius
- Install first T-post at rope end with knots facing inward
✔ Step 5 – Install All T-Posts
- Clip layout rope to first post
- Pull both ropes tight
- Mark next post location
- Drive post and repeat around circle
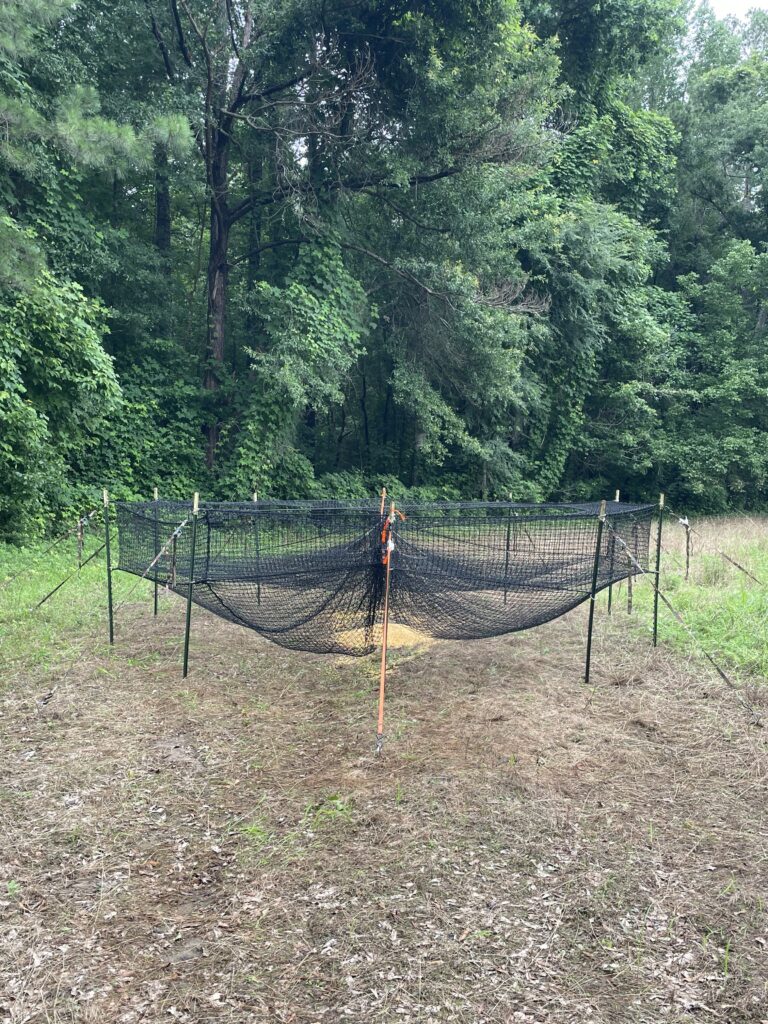
Goal: Maintain even spacing and a true circle.
✔ Step 6 – Install Ground Anchors
- Place anchors ~5 ft outside each post
- Align with corresponding post directly across.
- Drive into ground securely
Important: Misaligned anchors will cause posts to lean when tensioned.
✔ Step 7 – Stage the Straps
- Connect each strap from anchor to post
- Position buckles near posts
- Leave straps loose (do NOT tighten yet)
✔ Step 8 – Deploy the Net
- Remove trap from bag
- Pull net straight across setup area
- Spread evenly around posts
Ensure: Convertible caps face inward toward the trap center.
✔ Step 9 – Attach Net to Posts
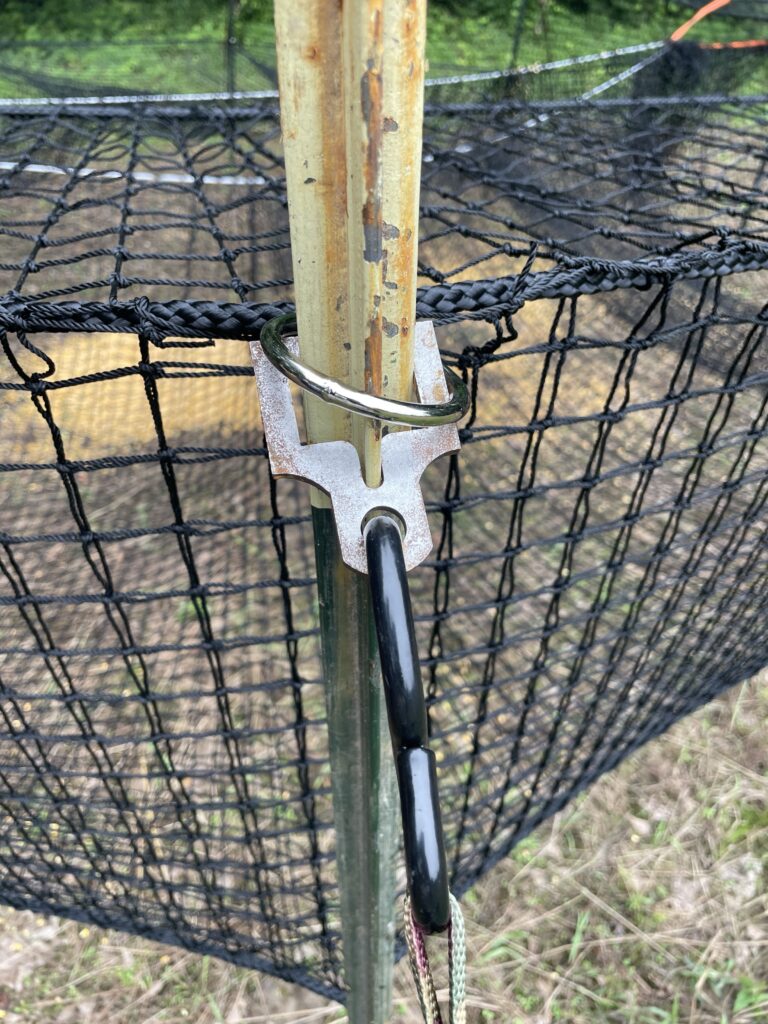
- Slide bottom (midline) ring onto post
- Attach bracket below second notch
- Slide top ring onto post
- Lightly tighten strap
✔ Step 10 – Tighten the Trap
- Work evenly around the trap
- Gradually tighten each strap
- Secure excess strap to prevent slip
- Secure warning plaque with zip ties